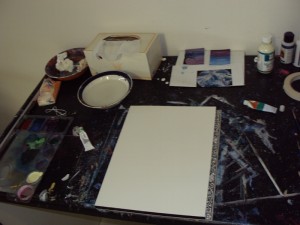
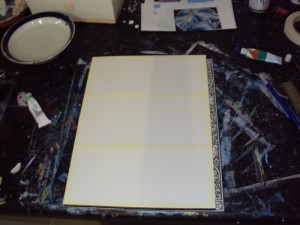
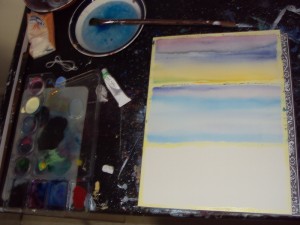
As promised (OK, a little later than promised, but still!) here’s my step-by-step for the creation of my latest painting, “Brave”.
-
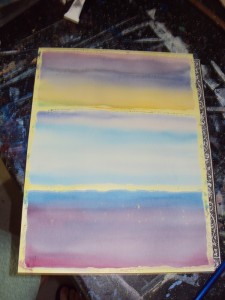
Step 5 - 3rd background wash. I did this panel a little later as I was waiting for the masking fluid I used to create the stars to dry. 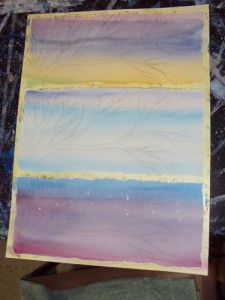
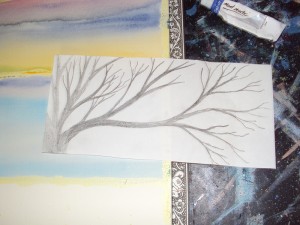
Step 6 - The tree sketch transferred onto each panel of the painting. 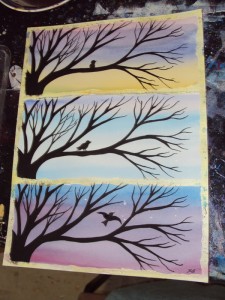
Step 7 - Trees and birdies painted in. 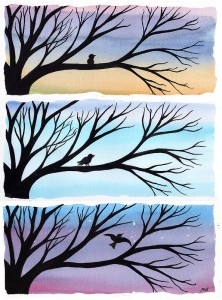
Step 8 - Masking fluid rubbed off, painting completed!! Hope you liked learning about how I created this painting 🙂
[…] Bailey: Art « Saturday Selections – Queen Anne’s Lace Creating “Brave” […]
Hi Kirsten!
It’s always interesting to see how the progress of an artwork. Thank you for posting this. Just a little silly Q: about step 6, how did you transfer the tree sketch onto each panel of the painting?
~mita
ps: i love your blackbird
Hi Mita!
Thanks for the lovely comment 🙂
In answer to your question, to transfer the sketch of the tree to the painting, I shaded the back of the sketch with pencil, then placed it where I wanted it to go, and traced over the sketch with a biro (pressing fairly hard). It leaves pencil marks on the page that are a bit tricky to see, but enough to make sure the tree looks pretty much the same each time.