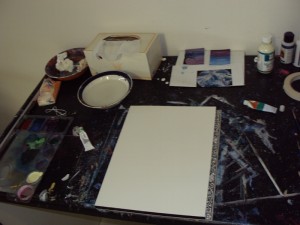
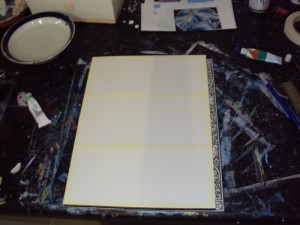
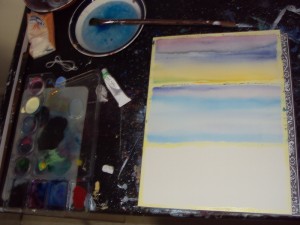
As promised (OK, a little later than promised, but still!) here’s my step-by-step for the creation of my latest painting, “Brave”.
-
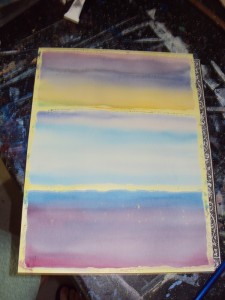
Step 5 - 3rd background wash. I did this panel a little later as I was waiting for the masking fluid I used to create the stars to dry. 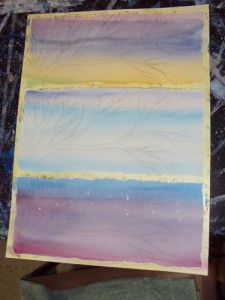
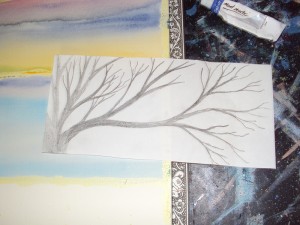
Step 6 - The tree sketch transferred onto each panel of the painting. 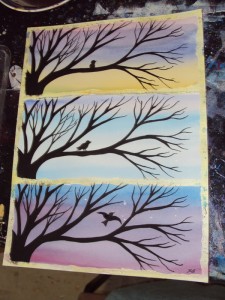
Step 7 - Trees and birdies painted in. 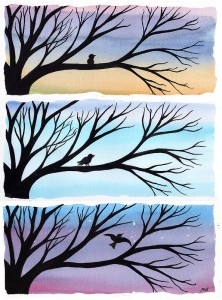
Step 8 - Masking fluid rubbed off, painting completed!! Hope you liked learning about how I created this painting 🙂